Quickstart
This guide will walk you through the basics of setting up an AS2 server and transferring files using the AS2 protocol. Let’s get started by sending a signed and encrypted file from one pyAS2 server P1 to another pyAS2 server P2. Do note that these two are separate installations of pyAS2.
Installing the Servers
Create a Django project called P1 and follow the installation guide
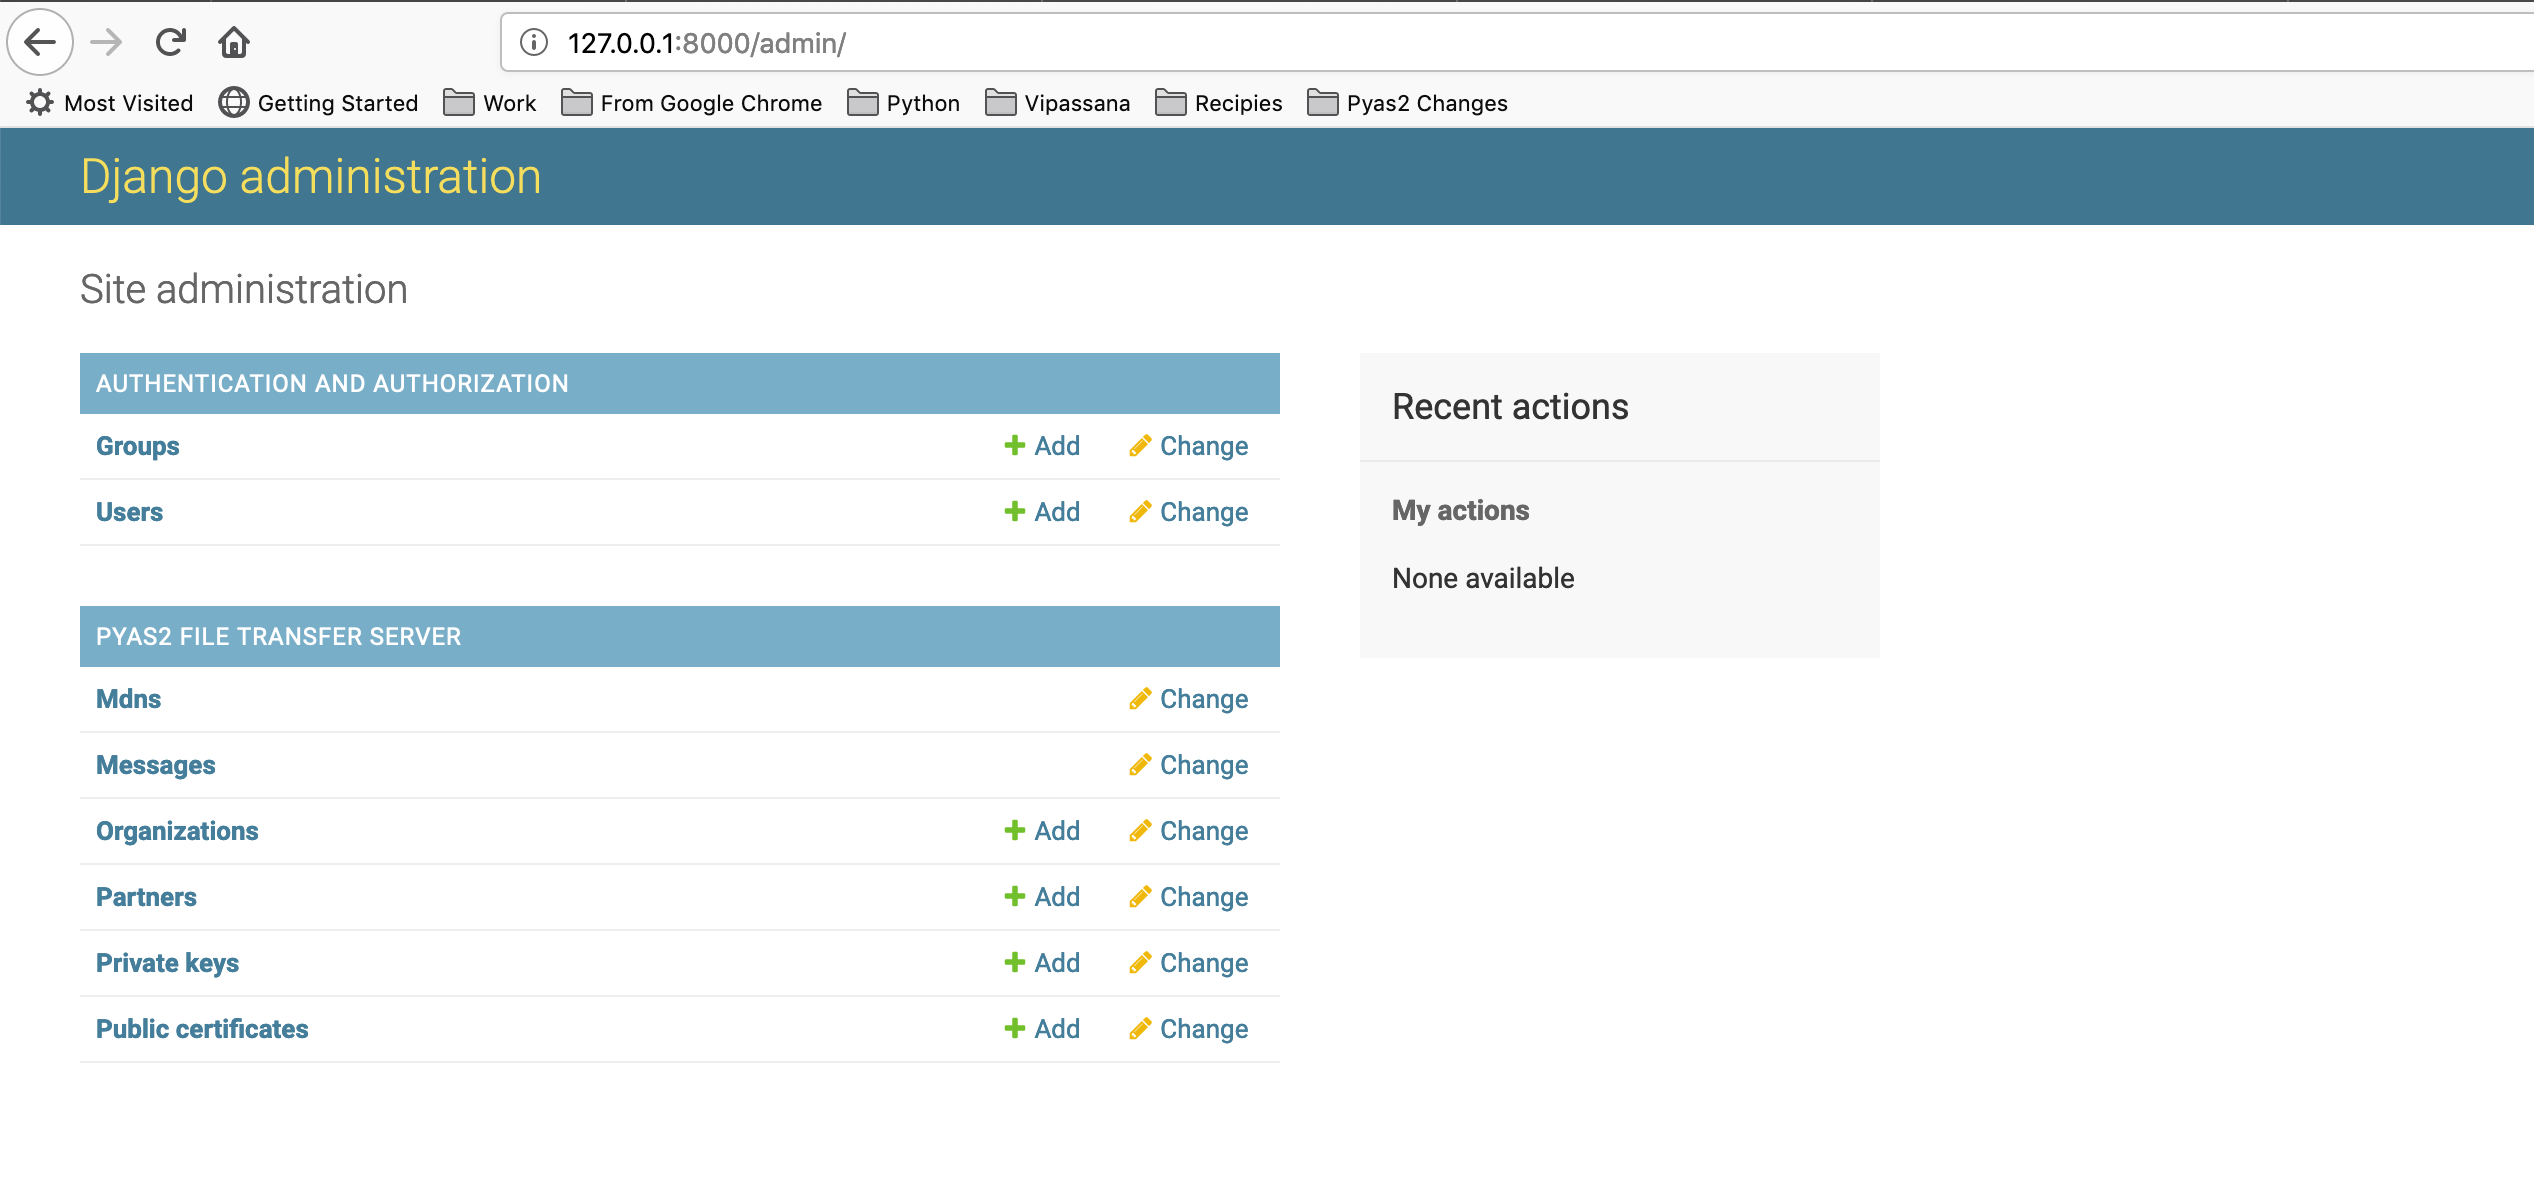
and run python manage.py runserver to start P1 at http://127.0.0.1:8000/admin/
Create one more Django project called P2 and follow the same installations instructions,
and run python manage.py runserver 127.0.0.1:8001 to start P2 at http://127.0.0.1:8001/admin/
Creating the certificates
We need to generate a Public and Private key pair each for the two servers. P1 uses its private key
to sign the message which is verified by P2 using P1's public key. P1 uses the P2's public key
to encrypt the message which is decrypted by P2 using its private key.
To generate the public and private key pair use the below commands
$ openssl req -x509 -newkey rsa:2048 -sha256 -keyout P1_private.pem -out P1_public.pem -days 365
Generating a 2048 bit RSA private key
.....+++
................................................................................................+++
writing new private key to 'P1_private.pem'
Enter PEM pass phrase:
Verifying - Enter PEM pass phrase:
-----
You are about to be asked to enter information that will be incorporated
into your certificate request.
What you are about to enter is what is called a Distinguished Name or a DN.
There are quite a few fields but you can leave some blank
For some fields there will be a default value,
If you enter '.', the field will be left blank.
-----
Country Name (2 letter code) [AU]:IN
State or Province Name (full name) [Some-State]:Karnataka
Locality Name (eg, city) []:Bangalore
Organization Name (eg, company) [Internet Widgits Pty Ltd]:P1
Organizational Unit Name (eg, section) []:AS2
Common Name (e.g. server FQDN or YOUR name) []:p1as2
Email Address []:
$ cat P1_public.pem >> P1_private.pem

$ openssl req -x509 -newkey rsa:2048 -sha256 -keyout P2_private.pem -out P2_public.pem -days 365
Generating a 2048 bit RSA private key
..............................+++
............................................................................................................+++
writing new private key to 'P2_private.pem'
Enter PEM pass phrase:
Verifying - Enter PEM pass phrase:
-----
You are about to be asked to enter information that will be incorporated
into your certificate request.
What you are about to enter is what is called a Distinguished Name or a DN.
There are quite a few fields but you can leave some blank
For some fields there will be a default value,
If you enter '.', the field will be left blank.
-----
Country Name (2 letter code) [AU]:IN
State or Province Name (full name) [Some-State]:Karnataka
Locality Name (eg, city) []:Bangalore
Organization Name (eg, company) [Internet Widgits Pty Ltd]:P2
Organizational Unit Name (eg, section) []:AS2
Common Name (e.g. server FQDN or YOUR name) []:p2as2
Email Address []:
$ cat P2_public.pem >> P2_private.pem
Configure P1
P1 needs to be configured before it can start sending files, open the web UI and follow these instructions:
Navigate to
Private Keys->Add private key.Choose the file
P1_private.pemin the key file field, enter the passphrase and save the Private Certificate.Next navigate to
Public Certificates->Add public certificate.Choose the file
P2_public.pemin the certificate file field and save the Public Certificate.Now navigate to
Organization->Add organization.Set Name to
P1, As2 Name top1as2and set the Signature and Encryption keys toP1_private.pemand save the Organization.Next navigate to
Partner->Add partner.Set Name to
P2, As2 Name top2as2and Target url tohttp://127.0.0.1:8001/pyas2/as2receiveUnder security settings set Encrypt Message to
3DES, Sign Message toSHA-256, Signature and Encryption keys toP2_public.pem.Under MDN settings set MDN mode to
Synchronousand Request Signed MDN toSHA-256.Save the partner to complete the configuration.
Configure P2
P2 needs to be configured before it can start receiving files, open the web UI and follow these instructions:
Navigate to
Private Certificates->Add private key.Choose the file
P2_private.pemin the key file field, enter the passphrase and save the Private Certificate.Next navigate to
ublic Certificates->Add public certifcate.Choose the file
P1_public.pemin the certificate file field and save the Public Certificate.Now navigate to
Organization->Add organization.Set Name to
P2, As2 Name top2as2and set the Signature and Encryption keys toP2_private.pemand save the Organization.Next navigate to
Partner->Add partner.Set Name to
P1, As2 Name top1as2and Target url tohttp://127.0.0.1:8000/pyas2/as2receiveUnder security settings set Encrypt Message to
3DES, Sign Message toSHA-256, Signature and Encryption keys toP1_public.pem.Under MDN settings set MDN mode to
Synchronousand Request Signed MDN toSHA-256.Save the partner to complete the configuration.
Send a File
We are now read to send a file from P1 to P2, to do so follow these steps:
Open the
P1web UI and navigate to Partners`.Select the partner P2 and action Send a message to selected partner and click Go.
Select the Organization as
P1and Partner asP2.Now select the file to send and click
Send Message.The status of the file transfer can be viewed by navigating to
Messages.Once file transfer is completed you will a green tick in the status column.
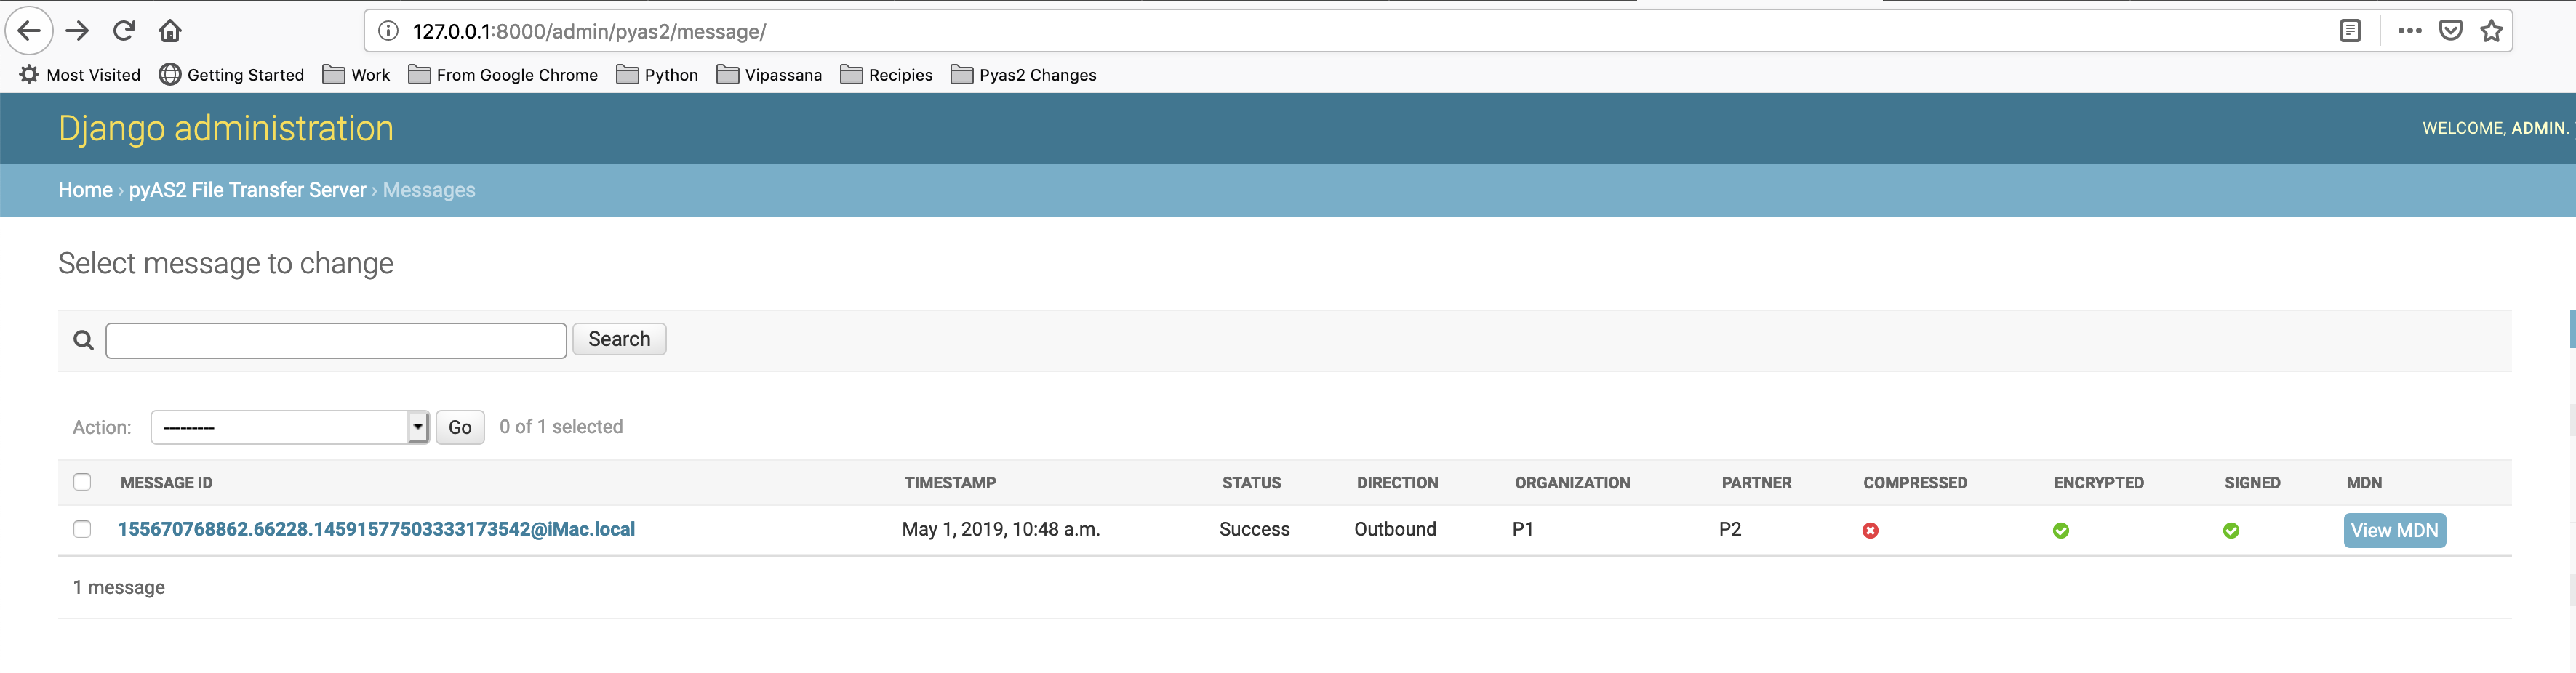
We will also see a similar entry in the web UI of
P2.

We can see basic information on this screen such as Partner, Organization, Message ID and MDN.
We can also view the MDN and Payload by clicking on the respective links.
Conclusion
We have successfully demonstrated the core functionality of django-pyas2 i.e. sending files from one system to another using
the AS2 protocol. For a more detailed overview of all its functionality do go through the detailed docs.
